

 A few months back I posted an in depth How I Edit My Blog Photos post which proved to be popular. Therefore I decided to write a follow up to that post, but instead of a step by step guide of how I edit photos I thought I would share a few tips I've learnt through my blogging journey!
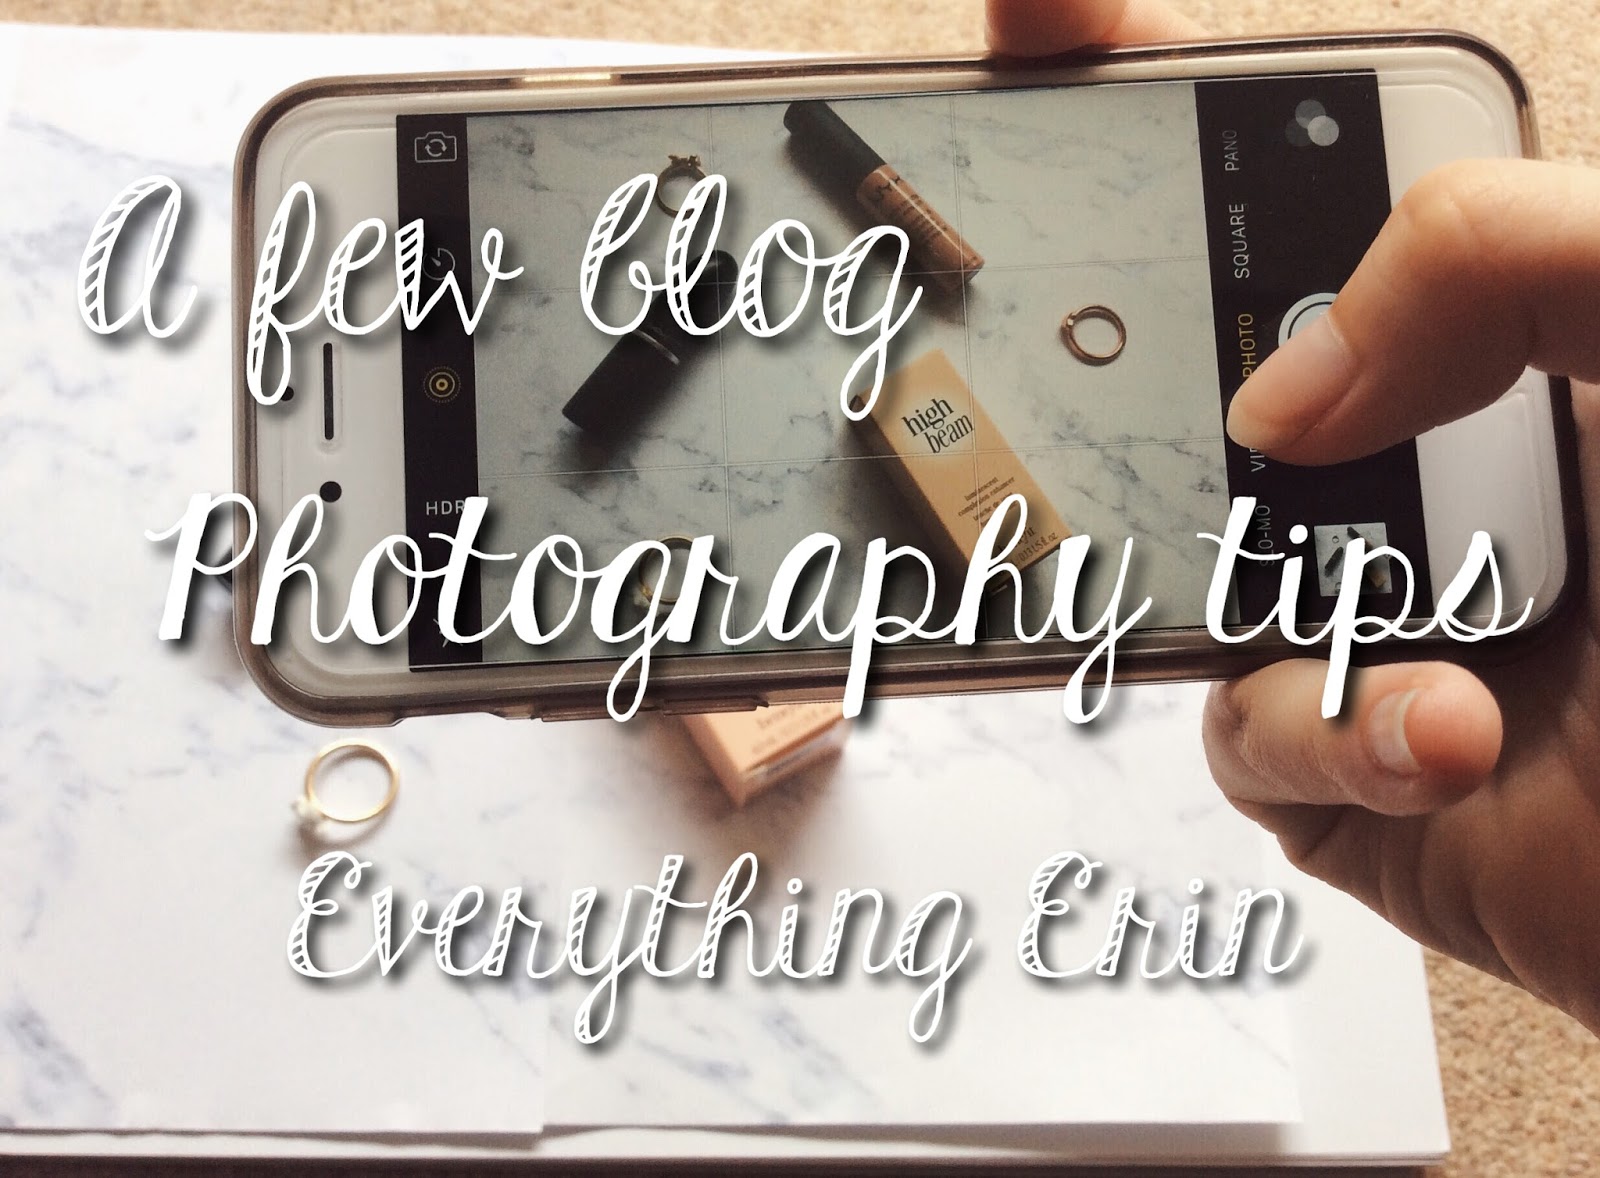
Background: Something that has changed over time on my blog is the backgrounds I use for my photos. I now favour the popular marbled background on my photos - the best thing is it's completely free. I googled marble background, found one I liked on Google images and printed off a couple of sheets. It was so quick and easy!
Use Natural Lighting: You have probably heard this tip on every single photography post, but there's a reason why it's here. Here's some photos I took - one by a window, one in a darker spot in my room, and one with a light on. I edited them all the exact same way. Which is your favourite?

Edit, but don't over edit: It's probable that you will want to edit your photo after you've taken it, but don't overdo it. I swear by Snapseed for my editing now - I use the selective tool to alter the brightness, contrast and saturation of certain areas and I'm done!
Blu-Tak: In flatlays, blu-tak is an essential to have handy. Need to stop a lipstick from rolling away? Grab a little bit of blu-tak and stick the lipstick to your background - it works wonders!
Props: Props such as jewellery, magazines and different fabrics help to eliminate blank spaces in your photos and really bring them to live. I have used a few cheap rings I own in several blog photos and always have them near my setup so I can use them if need be. They fill up the space and look pretty - win win!

Do you have any blog photography tips?


0 Yorumlar